IPTV for Live Sports: 7 Things Smart Buyers Check Before Subscribing
IPTV for Live Sports: 7 Things Smart Buyers Check Before Subscribing Live sports are one of the main reasons people […]
IPTV for Live Sports: 7 Things Smart Buyers Check Before Subscribing Live sports are one of the main reasons people […]

How to Prepare Your IPTV Setup for FIFA World Cup 2026 The FIFA World Cup 2026 is expected to be
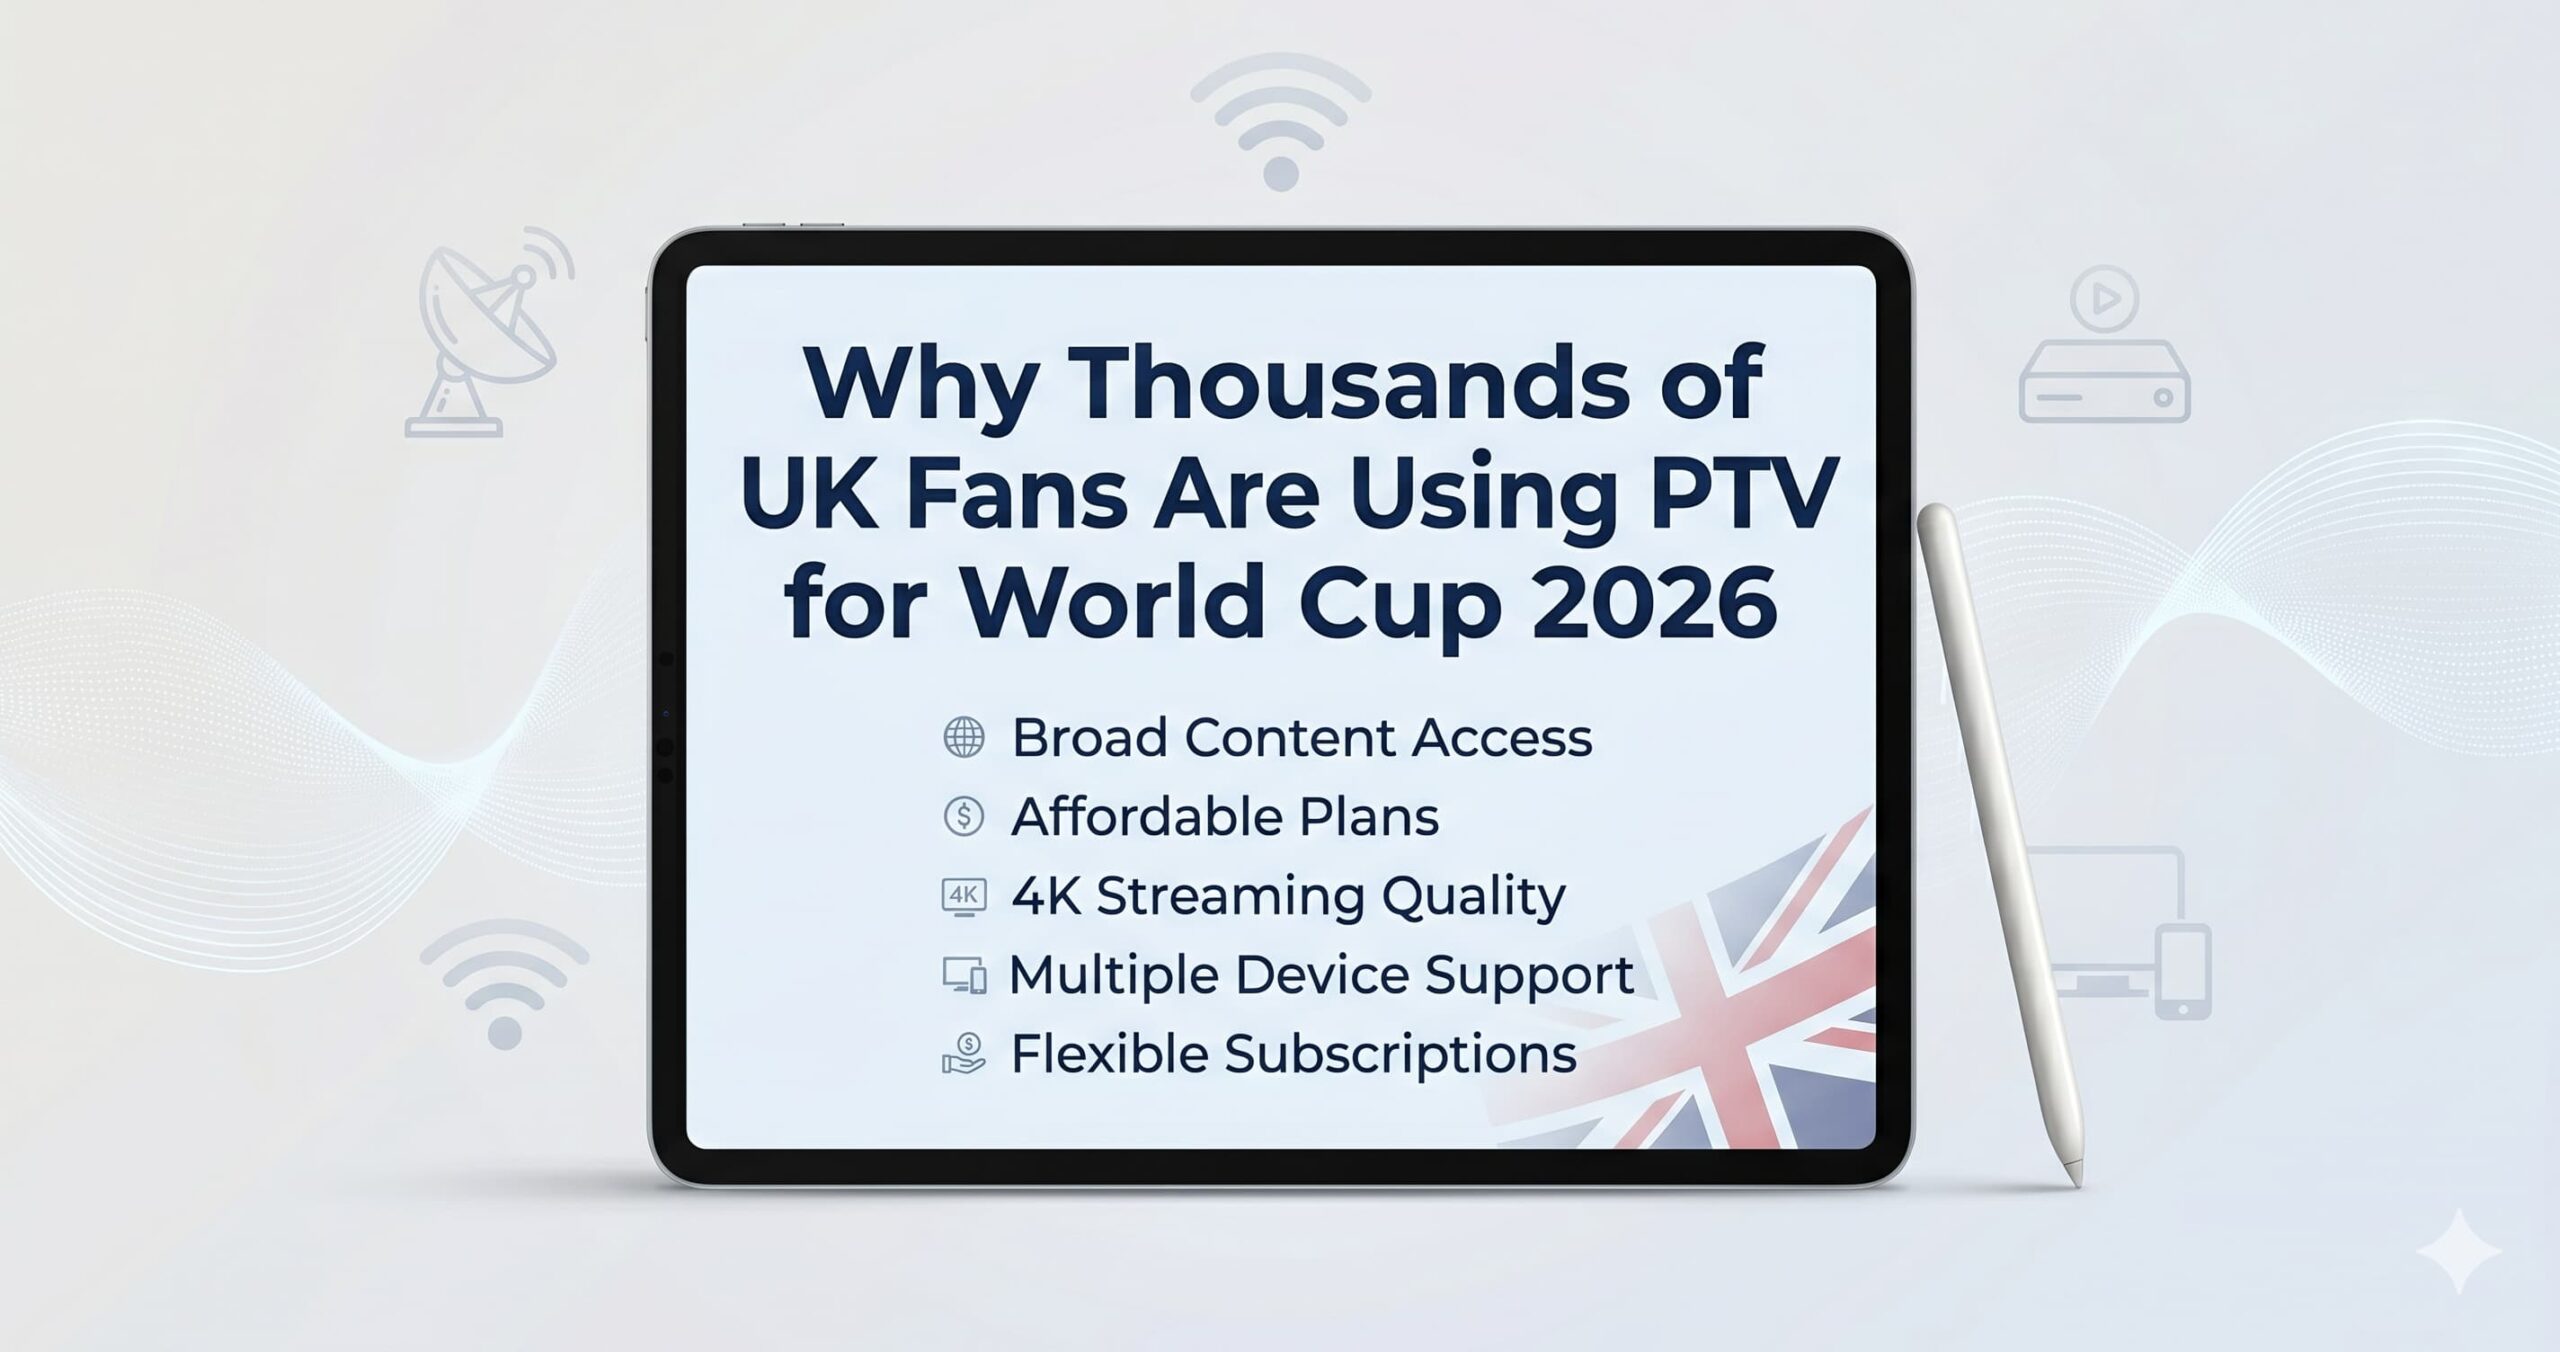
Why Thousands of UK Fans Are Using IPTV for World Cup 2026 The FIFA World Cup 2026 is set to

FIFA World Cup 2026 Schedule UK Time The FIFA World Cup 2026 is set to become the biggest World Cup
Case Study: How We Use IPTV to Stream Every World Cup Match — Answered by XtremeHD Everything you need to
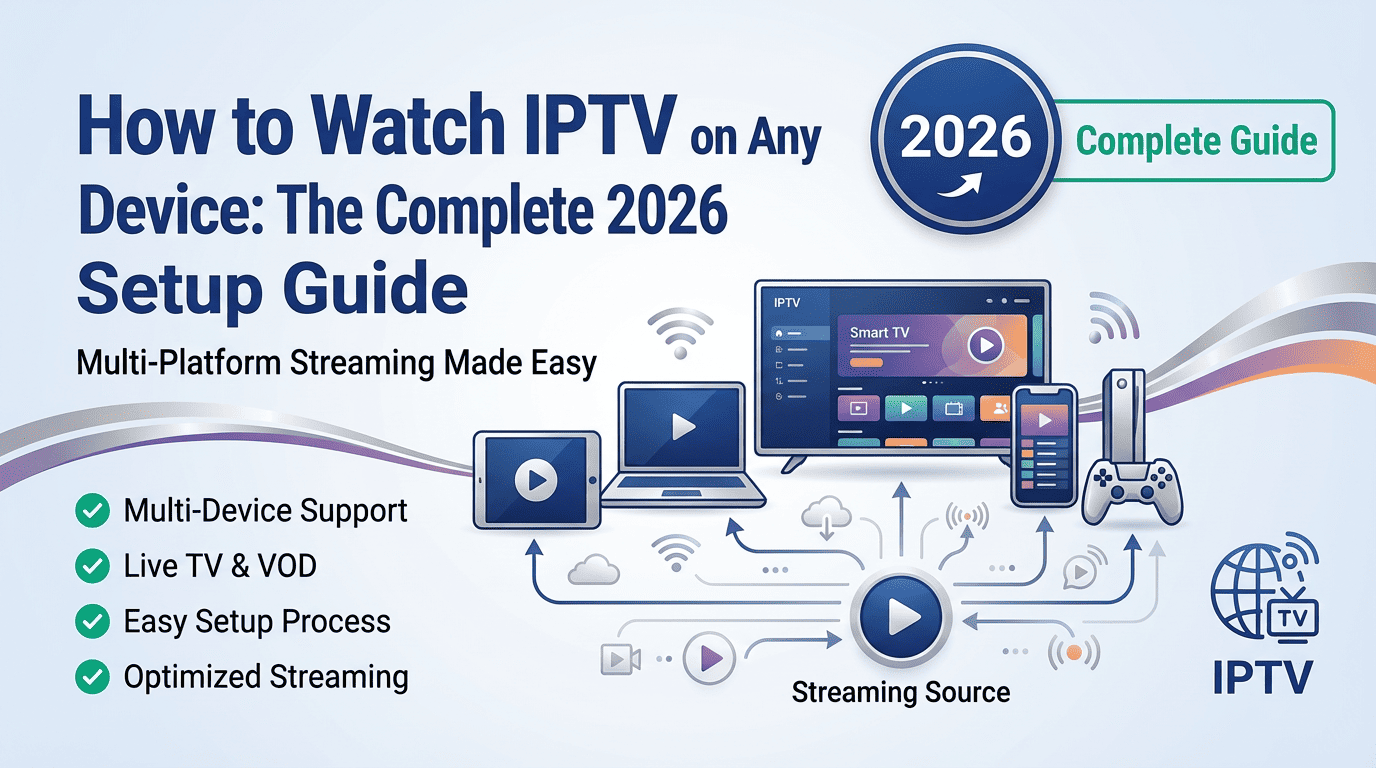
How to Watch IPTV on Any Device: The Complete 2026 Setup Guide By SEO Expert & Stream Technician. The landscape
How to Choose the Best IPTV Service in the UK: A Complete Buyer’s Guide (2026 Edition) In 2026, the landscape

NVIDIA Shield TV Pro vs. Formuler Z11 Pro Max: Which IPTV Device Is Right for You? if you’re looking for
Which IPTV App Is Actually Better? A Technical & Practical Deep Dive (2026 Edition) you’re probably frustrated by now, so
The Ultimate IPTV UK 2026 Guide for Real Users Who Want Stable Streaming If you’re in the UK and planning